
Main bearings might not get the attention they actually deserve; however, they are the backbone of any marine engine. These bearings keep the crankshaft steady and make sure the engine runs smoothly. Whenever bearings start wearing out, you often notice strange knocking sounds, vibration, or sometimes drops in oil pressure. And, if we ignore them, it can lead to serious engine problems.
In this guide, we’ll walk you through almost everything about main bearing replacement, from identifying the warning signs and getting the engine ready to installing new bearings and checking clearance, so that you can keep your engine in its best shape with reliable marine engine services.
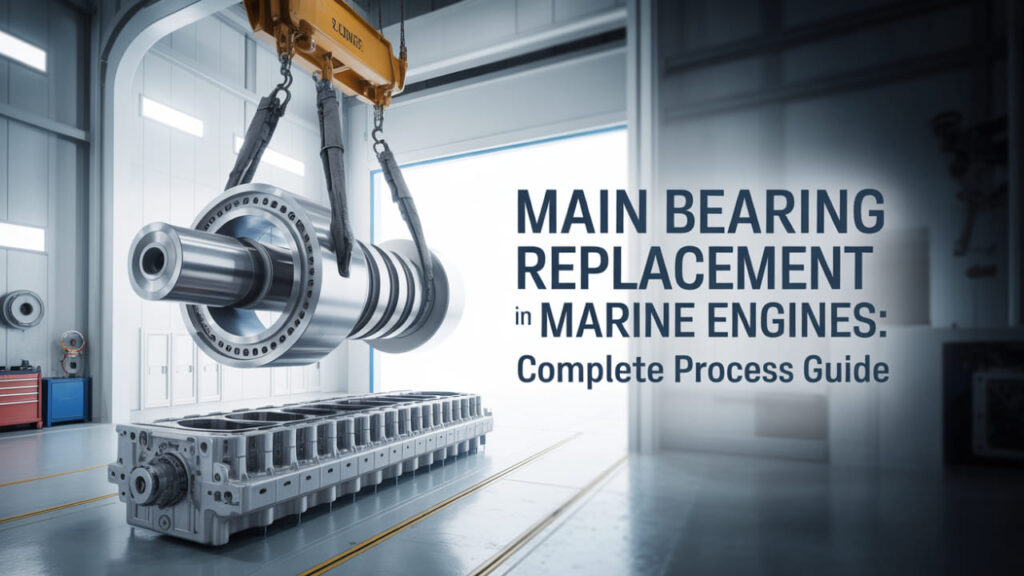
Understanding Main Bearings in Marine Engines – Insights for Marine Engine Repair Services
The main bearings are actually important parts of the marine engines, and such bearings offer support to the crankshaft and guarantee smooth and dependable operation. They in fact serve as a buffer, taking loads and offering metal to metal contact which may also lead to serious engine damage.
Bearings are engineered to withstand severe pressure and constant movement, and this contributes to the durability of the engine. Furthermore, adequate clearance is necessary as it provides a thin film of lubricating oil to develop between the bearing and crankshaft to minimize friction, heat, and wear.
The lubrication system keeps the bearings cool and coated with oil preventing them to be damaged by the power of the engine. The reason is that understanding these factors is one of the essential elements of successful marine engine repair services.
Common types of main bearings used in marine engines include:
Thin-wall bearings
Thick-wall bearings
Split bearings
High-quality construction materials, such as layered copper, aluminum, or even lead alloys, further enhance durability and performance.
When to Replace Main Bearings?
Signs of Bearing Wear
Identifying worn main bearings early can even save your engine from serious damage and expensive repairs. Here are the key signs to look for:
- Abnormal engine noise: Knocking, rumbling, or even a metallic tapping sound always indicates uneven wear or clearance issues in the main bearings. These sounds generally become more noticeable at higher RPMs.
- Increased vibration levels: Excessive vibration during engine operation may indicate that the crankshaft is not properly supported, mostly caused by bearing wear or sometimes deformation.
- Metal particles in lubricating oil: Tiny metal shavings or a metallic sheen in the oil indicate that the bearings or crankshaft are deteriorating, and immediate inspection is required.
- Elevated bearing temperature readings: Furthermore, higher-than-usual bearing temperature can signal insufficient lubrication, clearance problems, or early failure of bearing material.
- Drop in oil pressure: Worn bearings increase internal oil clearance, leading to a noticeable drop in oil pressure, which can compromise the entire lubrication system.
Monitoring these signs regularly ensures timely replacement and maintains the engine’s efficiency, reliability, and overall lifespan, key aspects of professional marine engine repair service.
Inspection Intervals
Timely inspection of main bearings is also important to prevent unexpected engine failure and maintain optimal performance. When you follow a structured inspection schedule, it can help you ensure that wear is actually detected before even it causes any major damage.
- Manufacturer-recommended replacement schedules: Most marine engine manufacturers provide detailed timelines for bearing inspection and replacement, depending on different types and designs. So, adhering to these recommendations ensures compliance with warranty and safety standards.
- Running hours considerations: Bearing experience wear over time, so that monitoring engine running hours helps plan replacements before excessive deterioration occurs. High-load or even long-duration operations may require frequent checks.
- Planned Maintenance System (PMS) guidelines: Several vessels operate with PMS, which actually schedules inspection and maintenance tasks systematically. Following these guidelines reduces the risk of overlooking critical bearing checks.
- Condition-based monitoring approaches: Advanced techniques like vibration analysis, oil sampling, and temperature monitoring allow technicians in order to evaluate bearing health in real time, enabling predictive maintenance and minimizing downtime.
Pre-Replacement Preparation
Safety Considerations
Before starting the main bearing replacement, safety must be the top priority. And, working on a marine engine actually involves heavy components, high temperature, and a pressurized system, so when you follow proper procedure, it protects both personnel and equipment.
- Engine shutdown procedures: Always ensure the engine is fully shut down, and it can’t be started accidentally. Let it be cool completely in order to avoid burns or other issues.
- Lock-out/tag-out protocols: Implement lock-out/tag-out measures on all electrical fuel systems. This is because it prevents accidental engine startup while work is in progress and ensures a safe working environment.
- Cooling and ventilation requirements: Ensure proper ventilation in the engine room. Because hot surfaces and confined spaces can be hazardous, so maintaining airflow and controlling temperature is vital.
- Personal protective equipment (PPE) needed: Always wear gloves, safety goggles, steel-toed boots, and protective clothing. PPE actually helps guard against oil spills, metal shards, along with other potential hazards.
Tools and Equipment Required
It’s crucial to have the right tools on hand for a smooth and precise main bearing replacement. When you use proper instruments, it not only ensures accuracy but also reduces the risk of damage to engine components.
- Specialized tools for bearing removal: Numerous tools, such as bearing pullers, soft mallets, and alignment guides, actually help safely remove worn bearings without even damaging the crankshaft or housing.
- Torque wrenches and measuring instruments: Accurate torque wrenches and micrometers are essential for proper tightening of bolts and measuring bearing clearance, and ensuring precise assembly.
- Lifting equipment and slings: Heavy components such as bearing caps and the crankshaft may need hoists, or sometimes signs in order to move them safely and prevent injuries.
- Cleaning materials and solvents: Degreasers, rags, as well as brushes are really necessary for thoroughly cleaning bearing seats, journals, and oil passages before even installing new bearings.
Parts and Materials Checklist
Make sure all needed parts and materials are already prepared and organized. As this prevents delays and ensures proper installation.
- New bearing sets (upper and lower shells): Choose bearings that perfectly match manufacturer specifications for your engine.
- Gaskets and seals: Fresh gaskets actually prevent oil leaks and maintain proper engine sealing.
- Lubricating oil for assembly: Assembly lube protects both bearing during initial start-up and reduces wear.
- Cleaning supplies: Keep surfaces free from dirt and debris in order to prevent premature bearing damage.
- Thread locking compounds: These actually help secure bolts and prevent loosening under vibration.
Having these tools and materials ready is an important step for safe, efficient, and reliable marine engine repair service.
Step-by-Step Bearing Replacement Process
Step 1: Engine Preparation
Initially, drain the oil and disconnect all external connections. Then, remove auxiliary parts, clean surfaces in order to ensure safe, smooth access, and prevent contamination during bearing replacement.
Step 2: Crankshaft Access
Remove inspection covers, note the crankshaft’s position, check journals, and then take the initial measurement in order to identify wear and ensure proper alignment.
Step 3: Main Bearing Cap Removal
Loosen bolts in sequence, mark caps for reassembly, carefully lift them, and store in order to avoid confusion during installation.
Step 4: Old Bearing Removal
Now in the 4th step, you’ve to remove upper and lower shells, examine wear patterns, and document conditions with photos for accurate reference and maintenance records.
Step 5: Cleaning and Inspection
Thoroughly clean bearing seats, check crankshaft journals, measure dimensions, inspect housing, and clear oil passages in to prevent potential damage.
Step 6: New Bearing Installation
Verify specs, install upper shells, align tangs, apply assembly lube, and fit lower shells accurately for optimal performance.
Step 7: Bearing Cap Installation
Now, position caps correctly, hand-tighten bolts, torque in sequence, and repeat multiple passes just to ensure secure, even clamping.
Step 8: Clearance Verification
Use Plastigage or dial indicators in order to measure clearance, compare with specs, and document readings for precise assembly verification.
Step 9: Final Assembly
Finally, rotate the crankshaft freely, reinstall covers with new gaskets, reconnect components, and refill oil for safe engine start-up.
Conclusion
The marine engines completely rely on all parts working in balance, and main bearings are factually significant in such balance. These bearings carry the weight of the engine forces, hold the crankshaft and minimize friction and wear.
Therefore, when we do not consider bearing maintenance, it may contribute to the unexpected breakdowns, expensive repairs, and a shorter engine life. Nevertheless, through these insights, any person seeking the marine engine repair services can learn more on how to ensure that the performance and longevity of the engines are maintained.
To ensure smooth running of engines, MPA Power Project provides the best solution to expert advice and precision work.


No Comments